
10 Aug How To Set Up Your Suspension Bike Top Guideline
Setting up a suspension bike can seem a little bit overwhelming but it’s actually fairly simple to get good by settings.
Today I’m going to show you how to set up your suspension bike in 10 minutes.
Adjustment
One of the things that could seem so hard about setting up suspension is the fact there’s a lot of different adjustments available to you on virtually every modern suspension design.
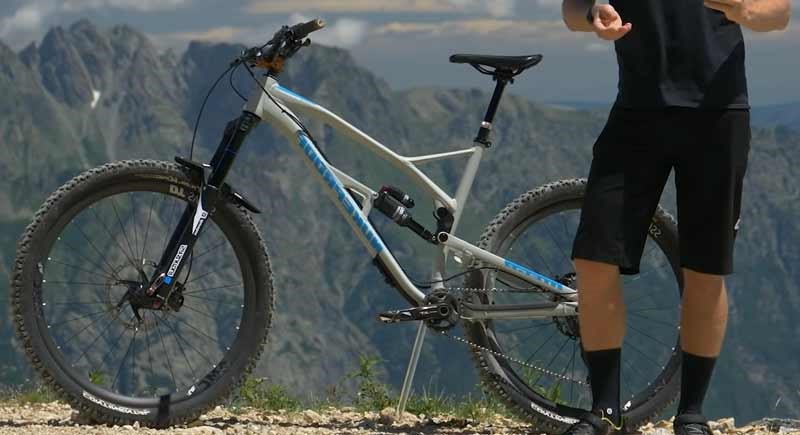
So we’ve seen that with some tool to make this article they’ve given us a brand new fork and a brand new shock and a fitted them smarter.
Now I’ve never set up some tour before so I’m going to do that right now to show you just how easy that process can be.
There are three main adjustments you need to make to your suspension to get it ready for off-road riding.
For better adjustment, it’s mandatory to know hardtail vs full suspension bike.
There’s the sag there’s the compression and there’s the rebound. The Sag first to the amount of suspension that moves under your body weight when you sit on the bike.
The reason you need sag is so the wheels contract the contours of the ground.
When the wheels are on the ground, you have traction and control. Compression refers to the amount of damping applied to the shock absorbers under the compression.
The reason you need this is to slow that movement down and to absorb impacts. Rebound refers to the way the damping forces are applied to the shock absorbers when they return following a compression.
Now, before we get started, it’s a good idea to get to know your equipment and know where you can find those adjustments. We’ll start by having a quick look at the suspension fork.
Now the air spring is accessible by a cap on the top of the left-hand Lac here and it’s a pretty common position on most brands. Although you might find it on your bike, it has it on the road.
Instead, it’s typically a little cap and it’s a Schrader valve underneath. This is the same type of valve that you’ll find on your car tires next up, or the compression and rebound adjustments.
Compression is always blue or rebound is always red. Compression is normally found on the top of the leg and rebound at the bottom of the leg as far as actually adjusting the damping.
Clockwise adds antsier clockwise or counterclockwise takes it away. There are typically two types of compression adjustment available in forks.
There are those with a multi-position lever for those like this one that has a dial now Outback, I have the tour tri air shock.
This has three points of adjustment. It has air compression and rebound and again the compression is a blue lever here and the rebound is the dial.
Now, this particular shock has 55 millimeters of travel, which out the rear wheel is 150 millimeters.
Now just before we get started, it’s important to say, make sure your compression adjustments are fully unwound or fully open and make sure that the rebound is backed up.
You don’t want any of this stamping to affect the sag setup?
Start by looking at the rear sack. Now find yourself somewhere away from traffic, fairly flat that you can repeat this process.
Now, this can vary on some bike designs outback, and of course of rider preferences. Some people will prefer it slightly softer, and some will like it’s slightly harder.
By pushing the whole ring up against the seal and sitting on the bike to see where it pushes it to. And wherever that amount of space is measure it with your trusty tape measure.
That’s how you can work out if it’s correct or not for you so you gave the ring, push it up to the field on the ship.
Then you’re going to sit on the bike and bounce up and down a bit just to let it settle. So, you’re basically taking your weight off the floor.
Your weight is on the bike and one sited pushed that O-ring back up again, moves the O-ring up against that shaft, and carefully just mount and try not to disturb it too much.
And of course, simply weathering is that’s how much shack you have now? As I said, I’m looking for between 11 and 16 and a half millimeters.
There are 18 millimeters so it’s a touch too soft for me. So, now’s the time to get the shock pump out and make some adjustments.
Connecting Parts
What’s really important to say is where you disconnect the pump, depending on which type of shock pump you have.
You may lose a tiny bit of air and it’s something you need to factor. When you’re actually inflating in the first place, you might need to go slightly put a few more pounds in there just to compensate for that.
Again, personnel ring up to the sale, sit on the bike, let it sort of a bit. So, it’s about there I didn’t carefully climb off again and measure once.
No, in an ideal situation, you would lean upon someone to do this, or perhaps against the workbench or similar, but you can’t do it like this out on the trail. If you get over the bike, you have one pedal. Pull your body weight on that pedal lean over the front of the bike and then your overeating will move.
You will compress it that fork and that is on a slight uphill hair, so it’s not going to make me roll anywhere and that’s a pretty good indication of my body weight on the front of the bike.
We’ll take the tape measure out. At the moment here we are 45 millimeters of sag. Now I actually prefer my front end, a little firmer.
So we go, that is the sack, the rear and the, of the front set up. All we need to do now is get some good base settings for our rebound.
Rebound
Now it’s on to the rebound control. Now, this controls, the extension would be extending of the fog and the shock following a hit.
Now, this has quite an important effect on the handling of the bike. If you have too little rebound damping in place, the bike can feel very bouncy.
It can feel quite uncontrolled and If you have too much damping though, then it’s going to feel quite harsh because the fork and the shock won’t extend fully before the next impact.
Now that something is known as packing down. Now, what you’re looking for when you’re setting up your rebound, is it to be as fast as.
Without packing down now, before we adjust the rebound, it’s important to say that the heavier Ryder you are the more air pressure you’re going to have to have in your forks and shocks.
Therefore, the more rebound damping you can have to have to control it. So what I might have on this bike won’t necessarily be the same as what you will have on your own bike, where you’re looking for is a nice, fast performance.
You don’t want it so fast. It feels out of control and kicking. And you don’t want it so slow that it sticks down after repeated.
On this shock, there are nine clicks of rebound. So, I’m going to start by having four clicks from fully open, and I’m going to work out from there. Now there’s a couple of things to bear in mind with.
This is that if you have a new bike and you’re setting up for the first time, the back end, your bike won’t necessarily be as smooth as it will be.
After a few rides, the shock bushings, they will tend to like wherein slightly be slightly smoother. After their first few rides and they might still need to increase the amount of reading.
Once you’ve initially set it up a good way to check and make sure you’re in the right ballpark is to set your own ring against the shock seal.
Again, right off an obstacle about curb sized and remain seated in the saddle. Now, if it’s too slow, it would just return to the center. If it’s too fast, it will bounce around.
If it’s about right, it will go past the sack point in a little bit and then just settle that’s really what you’re looking for a good base setting and front folks, and a good way to get the same sort of base setting is to return that over into the fork seal.
There’s two there’s one for high speed and there’s one for low speed. What they recommend doing is running the high speed all the way in and just adjusting with the low speed to find your base setting.
Don’t forget these are base settings. This is where you start figuring out how your bike reacts to off-road terrain.
You start with a good base. Then you go and write and learn your bike, learn the trails. As you get to know your bike and you get to know your suspension, fork, and shock a bit better.
You’re going to make some revisions to your up.
Now, the last adjustment you need to make for your base settings is compression. In this case, we’re looking at the shock and you have a lever here.
Now, this controls the low-speed compression. Now, most people refer to open, mid, and closed as the typical settings. But what this actually refers to is the amount of damping you’re getting from the shock in fully open.
You’re actually getting about 20% damping when it’s on the midway, about 60, and then about 80 when it’s full
No, it doesn’t mean it’s locked out, but what this means, you’re getting the maximum low-speed compression.
It makes the bike a bit more efficient when you’re climbing. So, it’s not going to move around too much under your body weight.
Very effective to have that you’re probably going to find it for riding most stuff. You’ll be on the mid-setting and if you want extreme comfort or lots of traction, you can have it on fully open.
You only really want to engage the fully closed section when you’re perhaps climbing a free road or even for urban riding.
Now the same thing applies to your fork. If you have one of those multi-position leavers, but this one has two dials on it.
It has high speed and low speed. Now, if your fork has high and low, start by fully opening, the high-speed leave that one alone for the time.
That is something you will learn as you start writing a bit more and you understand the characteristics, the low speed is the one you need to make your initial adjustments to, to get your good base setting.
So, what you want to do is figure out how many clicks it’s got and go in for about a third of those clicks. Well, there we go.
That is how you set your suspension up in 10 minutes with SAC compression and rebound, where you go now, it’s going to hit those trails and get to know your bike. Don’t forget.
These are just the basics that you can do to get a good base setting for your suspension. I show riding improves and you start to.
Your bike a bit more naturally, you’re going to make some improvements and some increments with changes.
Conclusion
If you love what we do here at champion tech, give us the thumbs-up, and don’t forget to share, and if you want more biking how-to guidelines you can visit OutdoorXsports for better information.
No Comments